Nearly every website has a contact form. But despite the advantages, WordPress has no built-in content block for forms. To provide a way for your site’s visitors to connect with you, you’ll need to get a little creative.
If you don’t have a lot of experience coding, resist the urge to try to create a contact form yourself—it’s not worth the hassle. There’s an easier way to install a contact form that doesn’t require code and gives you extra tools to help you fight spam.
All you need to do is install a plugin.
5 Steps to Create a Spam-Free Contact Form
To follow along with this tutorial, you should have already set up a WordPress site and have access to your WordPress dashboard. In this tutorial, you’ll install a contact form plugin, customize your contact form, and place your contact form on your website.
That all begins with finding the right plugin.
1. Find the Right WordPress Contact Form Plugin
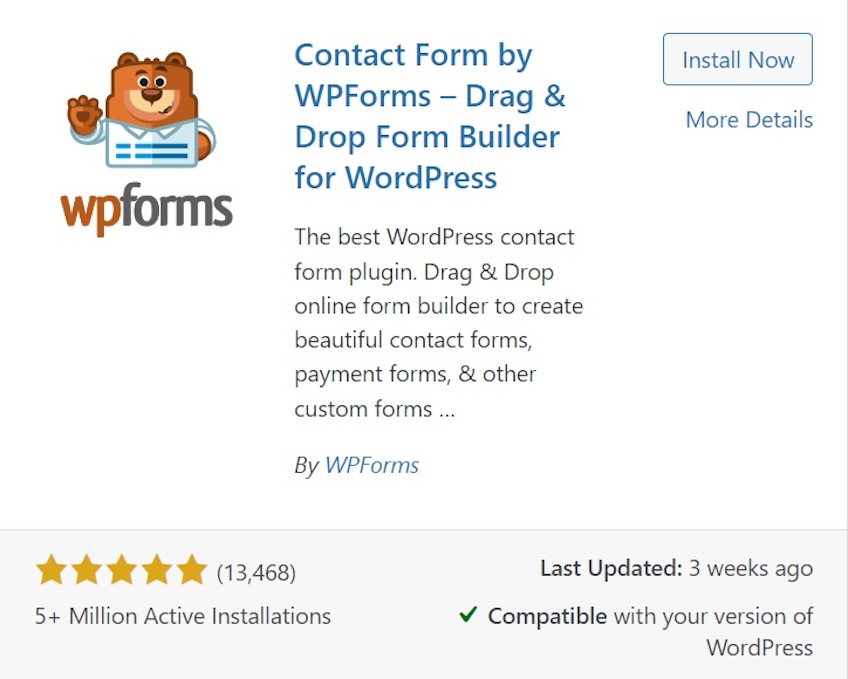
Plugins are one of the best features of WordPress. If there’s something that you want your website to do (that doesn’t come preinstalled), there’s a plugin available to handle it. For the sake of this tutorial, we’ll be using the Contact Form by WPForms plugin.
WPForms is:
- Popular. With over 5 million installs, WPForms is one of the most popular and well-supported plugins available—which means it’s less likely to have bugs or vulnerabilities.
- Beginner-friendly. WPForms has a WYSIWYG (what-you-see-is-what-you-get) editor, so you can completely customize your forms within a drag-and-drop interface.
- Customizable. WPForms includes advanced functions such as conditional logic, so you can get your forms to act exactly how you want them to.
- Well-integrated. Because WPForms is so popular, it’s been integrated into page builders like Divi and Elementor.
- Free. While there is a premium version of WPForms, the basic “lite” version of WPForms is entirely free.
If you decide to use a different form plugin, you will need to take different steps to implement your form plugin—but it should still be pretty similar. The good news is that most form plugins are intuitive and easy to use.
2. Add the WPForms Plugin to Your WordPress Site
We’ve decided to use WPForms, but we haven’t installed it yet. Before we can start creating our forms, we have to install the plugin to our website.
- Log into your WP Admin dashboard.
- Go to Plugins -> Add New.
- Search for “WPForms.”
- Click on Install Now.
- Click on Activate.
We’ve successfully installed our plugin, so we’re greeted with a welcome screen:
But before we start creating our forms, we need to do a little additional work to make sure that our anti-spam functionality is operational.
3. Turn on CAPTCHA Anti-Spam Protection
An unprotected contact form on the internet is a lot like a firehose. Without anti-spam functionality, you’ll get constant, automated messages—usually from bots. If you’ve ever submitted a form online, you already know what a CAPTCHA is. CAPTCHA prevents spam with little tests designed to identify bots before they can send a message.
By default, WPForms does not have CAPTCHA services turned on. You can select one of three: hCaptcha, reCAPTCHA, or Turnstile.
Today, we’re going to use reCAPTCHA. reCAPTCHA is a free anti-spam service from Google.
To use reCAPTCHA:
- Go to the Google reCAPTCHA Admin Console. (If you do not have a Google account, you will be prompted to make one.)
- Type your website’s name as the “Site Label.”
- Select Challenge.
- Check the “I’m not a robot” Checkbox.
- Type in your website’s domain name.
- Click on Submit.
You will receive a site key and a secret key, as below:
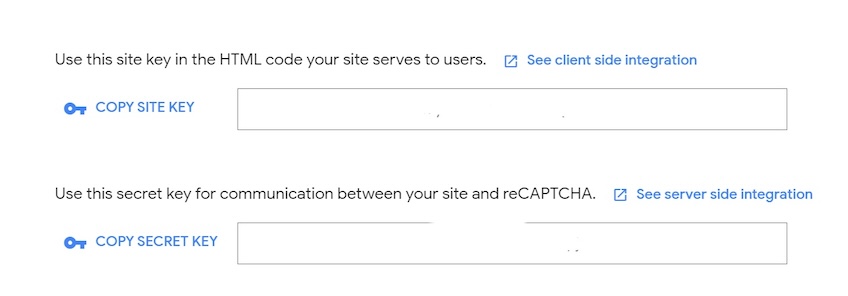
With your reCAPTCHA information in hand, you now need to update your WordPress settings.
To connect reCAPTCHA to your WordPress account:
- Return to your WP Admin dashboard.
- Go to WPForms -> Settings -> CAPTCHA.
- Select reCAPTCHA.
- Set the Type to Checkbox reCAPTCHA v2.
- Set the Site Key to your site key.
- Set the Secret Key to your secret key.
- Click on Save Settings.
Now, when anyone uses a form on your site, they will need to check a box to confirm that they’re a person. There are different types of CAPTCHA mechanics, but a checkbox strikes a balance between accurately identifying bots and being easy enough for a human to use.
4. Create a Contact Form in WPForms
Now, we’re finally ready to create our contact form. WPForms supports many form types: calculators, trouble tickets, feedback, planning, and more. But for this tutorial, we’ll be creating a simple contact form.
To create your contact form:
- Go to WP Forms -> Add New.
- Enter Contact Form as your form name.
- Select the Simple Contact Form template.
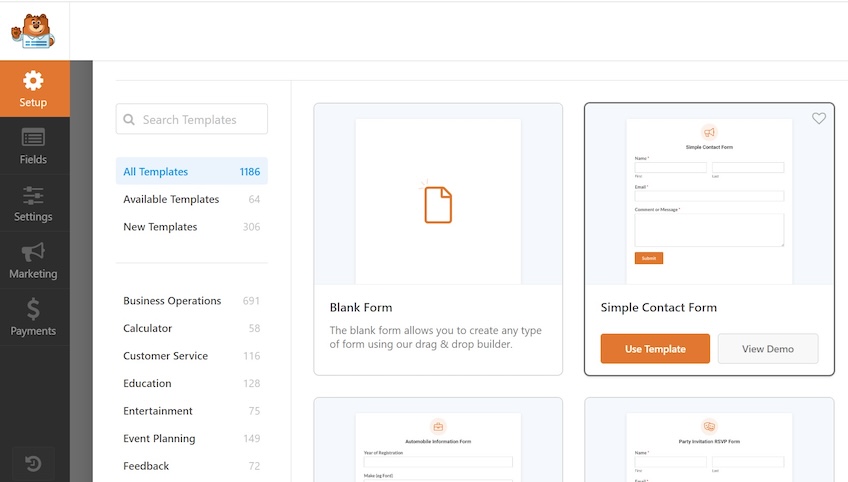
Once you’ve selected your template, WPForms will take you to a page where you can customize your form. Here, you’ll customize your form fields and field options.
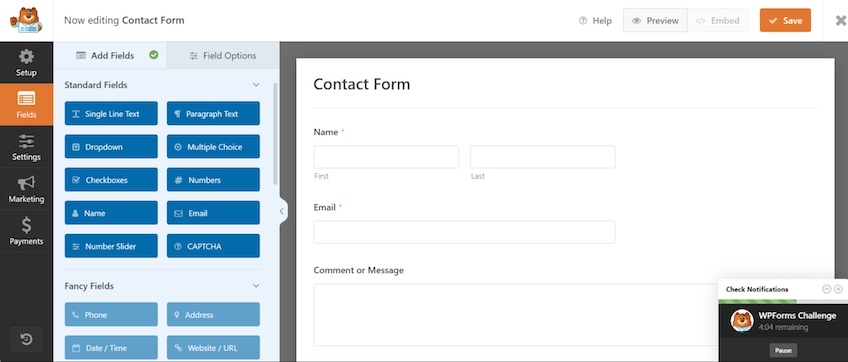
Since we are creating a standard contact form, we don’t need to customize our form. The preset form will capture names, emails, and comments.
But if you want to customize your form, all the options are available on this page.
- Fields. This section lets you add, remove, and modify the information you capture. For example, we are currently capturing “First” and “Last” names, but we could choose to have a single field labeled “Full Name.”
- Settings. This section controls how you are notified of contacts. By default, contacts are sent to your administrative email address. You can control where and how these notifications are sent.
- Marketing. This section lets you integrate a customer relationship management suite like Salesforce, Zapier, or HubSpot.
- Payments. This section lets you integrate your forms into a payment processor like Stripe or Square—probably unnecessary for a simple contact form.
You can play around with the fields in your contact form. Every field has a type (single-line text, paragraph text, or dropdown). There are also options for each type—you could set a default value or restrict values.
So, to create our simple contact form, we don’t need to update our fields, marketing, or payments. But we will briefly detour into Settings to verify our anti-spam functionality is engaged.
To check your anti-spam settings:
- Select Settings -> General.
- Select Spam Protection and Security.
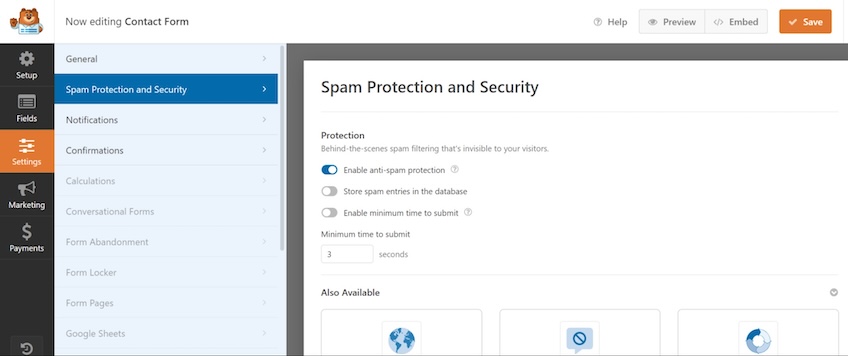
WPForms sets its spam protection to be enabled by default. When someone fills out your contact form, this invisible protection analyzes the message and determines whether it’s spam. If it’s spam, it’s never sent to you. You should leave Spam Security and Protection engaged.
Here, we also have two options:
- Store spam entries in the database. Use this option if you want to be able to look at the spam entries that are discarded. If you aren’t getting a lot of spam and are concerned about false positives, this could be a good compromise.
- Enable minimum time to submit. By default, the minimum time to submit is set to three seconds—so a user would need to wait three seconds before hitting the submit button. If you want users to write thoughtful comments to you, this could reduce your spam.
Scroll down, and there are also security add-ons: Country Filter, Keyword Filter, Custom Captcha, reCAPTCHA, hCaptcha, Cloudflare Turnstile, and Akismet. We have already turned on reCAPTCHA, so we don’t need to do anything here.
In fact, we’re ready to wrap this up.
5. Add Your Contact Form to Your Website
Once saved, our form exists within the administrative section of our WordPress site. But it doesn’t show up on a page yet. For that, we must click on Embed—a button at the top of our screen as you customize your form.
Clicking Embed gives us two options: Select Existing Page or Create New Page.

To add your new contact form to your website:
- Select Create New Page.
- Name your page “Contact Form.”
- Click on Let’s Go.
Success! Your new page has been created with your contact form installed. You’ll be brought to a preview of your brand-new contact form.
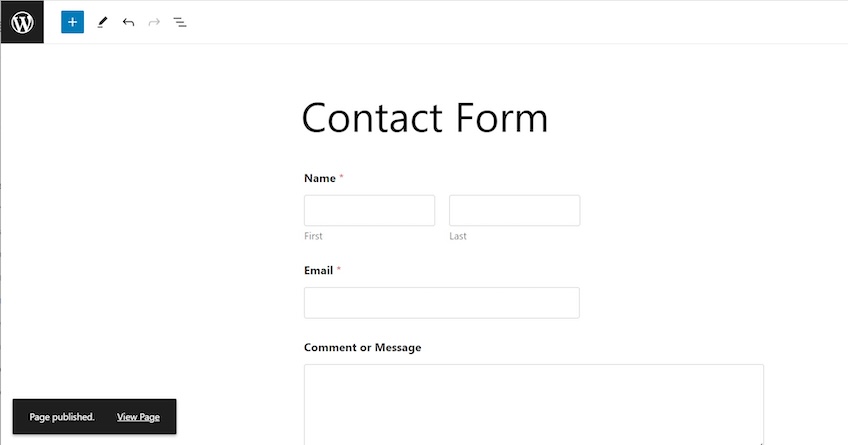
Your contact form might look a little bland. But that’s just the contact form. On your site, your contact form will be embedded into your template. Click on View Page to see how your contact form looks within your site’s design.
Congratulations! You now have a fully functional WordPress contact form with WPForms.
Do I Need to Make My Contact Form Spam-Free?
In short: Yes. But how you make your contact form spam-free may vary depending on your goals.
There’s a lot of spam on the internet. Put up an unprotected contact form, and you’ll swiftly discover just how much. But because spam masquerades as a real message, there are numerous methods of detecting spam.
In the above directions, we used two methods:
- CAPTCHA codes.
- Invisible spam protection.
There are other methods of detecting and reducing spam, but the more restrictive your anti-spam protocols are, the more likely you are to miss real messages.
If you’re still getting too much spam, consider installing an anti-spam suite such as Akismet.
Do I Really Need a Plugin to Set Up a WordPress Contact Form?
In WordPress, you have three options for setting up a contact form:
- Use a plugin to create a WordPress contact form.
- Host your website on WordPress.com.
- Develop a contact form on your own.
While each of these options comes with benefits and drawbacks, using a plugin is the fastest, easiest, and most extensible solution.
Hosting Your Website on WordPress.com
If your site is hosted on WordPress.com, you will have access to a built-in contact form. But we generally don’t recommend hosting on WordPress.com for a few reasons: you can’t use plugins, you need to keep the WordPress.com branding, and you have few options for monetizing your site.
Overall, hosting on WordPress.com comes with enough limitations that it’s probably not worthwhile—unless you just want a casual blog that comes with a contact form.
There are many excellent WordPress hosts that make setting up WordPress a breeze. And if having a built-in contact form is important for you, you could also consider other popular blogging platforms.
Developing a Contact Form on Your Own
You can always create a contact form of your own. With HTML, CSS, and JavaScript, you can create a contact form that sends you an email. With PHP and MySQL, you can create a contact form that logs entries into a database. Because WordPress is open source, you can edit the code however you see fit—and you can always create your own HTML or PHP pages.
But it is complicated. You need the basics of HTML, CSS, and JavaScript to create a good-looking, dynamic page. You need to know PHP or MySQL to store your data. And you need UI/UX knowledge if you want to create a form that is accessible—for instance, how will your form perform if read by a screen reader?
Due to the complexities of web development, a form plugin is generally the way to go.
What’s Next?
Adding a contact form is only one part of creating a great WordPress site. But it’s a pretty significant one. If you’ve gotten this far, you now have a live WordPress site that people can use to contact you directly. Consider checking out some of the other great WordPress plugins for other features your website could use.