When you first think about creating a website, you probably visualize the end result rather than all the technical work it’s going to take. Of course, many of the top website builders can make designing and publishing a website super manageable, but there’s always something that could go overlooked.
This is why we’ve created a checklist of essential website elements and pre-launch tasks that anyone can use to make sure their website works well upon launch. It starts with some of the simpler checks and balances, then it moves on to the more technical stuff.
As you get ready to publish your site, following these tips can help make sure that it loads correctly, that it looks great on all kinds of devices, and that it’s ready to handle incoming traffic from the moment it goes live.
Review Content for Errors
Nothing says unprofessional like needless spelling and grammar mistakes—that’s why we’ll be proofreading this very post a dozen extra times before publishing (so we don’t feel like hypocrites).
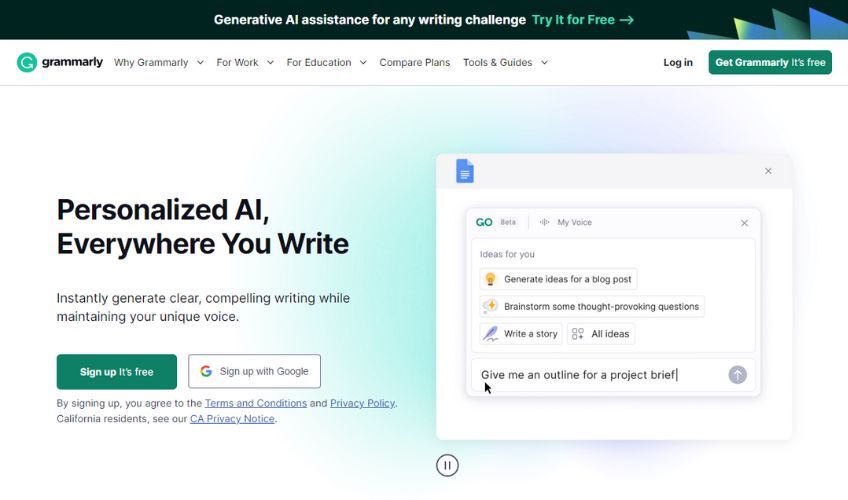
It’s also why we suggest writing your copy in a word processor that has a built-in spell checker before you go pasting it onto your website. You can also use proofreading tools, app integrations, and browser extensions like Grammarly to write cleaner and more concise copy that’s ready for the web.
It’s also important to get a separate set of eyes on your content, since automated writing tools can’t always understand your positioning and logic. You can hire a professional or share your site with a friend or colleague who can give valuable insights. They might be able to suggest better wording or point out things that don’t make complete sense.
Test Every Link
It’s easy to make mistakes when developing a website, especially if you’re copying and pasting pre-made buttons and links to save time. It’s important to make sure that you’re not leading visitors to the wrong pages—or worse, to broken links. Be sure to go through and manually test the user journey on your website, following all buttons and text-based links.
That goes for navigation links in the header and footer, too, both on desktop and mobile. Doing this tedious step early on can save a lot of headaches in the future.
Test Contact Forms and Submissions
One of your biggest fears as a site owner should be when users want to sign up but can’t due to technical difficulties. Imagine all the leads you might lose if you launch your website with broken forms.
To avoid this mistake, be sure to test all of your website’s forms by filling out any contact forms, checking for submission success or error messages, and seeing whether or not you receive a confirmation email. Should you not get an immediate confirmation, it’s wise to go back and review the settings in your builder. Your CMS may also store each of your form submissions internally, so find out where those leads are being kept.
Check Email Forms and Welcome Sequences
Many websites—ours included—have subscription signup forms right on the homepage. It’s important to make sure that these emails are going to the right place.
By testing your newsletter signup forms and logging into your email marketing platform before launching your website, you can see whether or not your signups are being added to the correct lists. If you simulate the process that a new subscriber will go through, you can iron out any hiccups before they happen.
Keep in mind that if you are switching email providers, one hot tip is to back up your current subscribers to a CSV before publishing your site. That way you can restore your list at any time if something goes wrong with the new connection.
Test Support Materials and Chat Widgets
Some people may want to contact you through traditional methods like a dedicated contact form, but FAQs and self-help documentation can answer many of their questions before they reach you. If you link to support docs or have a help desk in your footer, check them for proper functionality and fill out a support ticket to test the flow yourself.
Similarly, if you’re using a chatbot or chat widget, visit your website anonymously and try to chat as if you’re a new visitor. Going through these steps can help you create a better customer service experience.
Test Your Social Links
Social media can be a huge driver of return traffic to your website and a way for visitors to stay connected with your brand on a personal level.
At minimum, most CMSs provide an inbuilt way of integrating social links/icons and displaying live social feeds—though in some cases you may need to embed some code instead. Either way, links sometimes break when social apps or plugins update their code, so check whether your connections are active and functional before you launch.
Check Your Scheduler Workflow
Imagine a scenario where a user wants to schedule a meeting with you, but the process doesn’t work and they decide to give up without you ever knowing.
If you’re using a calendar booking system such as Acuity or Calendly, you’ll also want to double check the experience from a client’s perspective.
Be sure to book a sample meeting to test and optimize the workflow. That way, you’ll be sure to know how and where to access signup information so you can follow up with leads and reschedule appointments whenever necessary.
Test Ecommerce Functionality
If you’re planning to launch an ecommerce website, you’ll want to be absolutely certain that your payment processors, transactional emails, and delivery workflows are in working order. You can start by making a test payment, either with your own card or a test card, which most payment gateways provide for this very purpose.
Likewise, it’s also important to go through the entire checkout flow to make sure it’s seamless. See what the order email says and how the delivery process works.
You shouldn’t be satisfied unless it’s easy to log into your account, find receipts, and view purchases. Similarly, locating your store policies and refund information should also be easy, otherwise you may be hearing from some cranky customers.
Add Legal Pages
Legal pages and disclaimers tell your site visitors how you collect and use data. They also protect you and your business in case of infringements or legal complaints.
Many countries require a privacy policy and a way for visitors to opt out of data collection and/or request a deletion of their data. Meanwhile, having a terms of use or a terms and conditions page protects you by identifying what visitors can and can’t do on your website. Finally, if you’re an affiliate or run an affiliate program, you might need an affiliate disclosure page or one for earnings.
It’s best to consult a legal professional to see which pages your particular business needs. When you’re ready, you can have custom policies drafted or generate legal pages from websites such as Termsfeed. Just be sure to link to your policies in the footer for easy access and compliance.
Ensure Your Site is Accessible
Having an accessible website means anyone can access it and understand the information without difficulty—regardless of physical ability, internet bandwidth, and page load speed. Accessibility features are also required by law in many places.
To make your website more accessible, organize your text with headlines, subheadings, and small paragraphs. If your site can’t be adjusted automatically with accessibility tools, be sure to use a larger font size and incorporate contrasting colors to ensure your text stands out against the background.
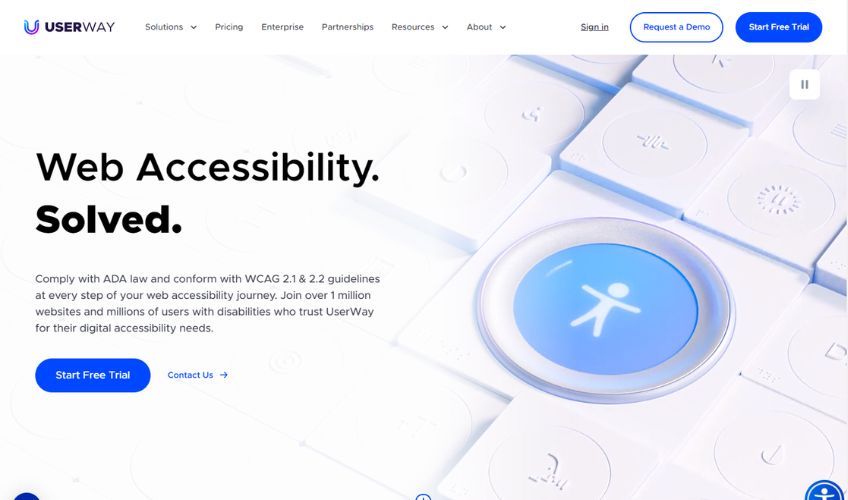
On the technical side, you’ll need to use proper tags and check that your website loads quickly and without errors. You can test your website accessibility with tools like UserWay, which offers subscription plans and a free widget.
Make Sure Images Have Alt Text
Alt text—aka alternative text—is the copy that shows up when an image is broken or loads slower than the rest of the page. You’ve probably seen alt text in email clients that have auto-display settings for images turned off, or if you’ve ever used a browser that was set to load pages in basic HTML for slow internet connections.
Anyway, alt text helps search engines and those who can’t see pictures very well know what’s there. Screen readers will read this text aloud, so make sure that your alt text provides a helpful description of what’s being shown. In general, it’s better to be clear rather than witty for these, and it’s a good idea to include valuable keywords whenever possible—just don’t do any excessive keyword stuffing, as you could easily create a bad user experience and impede navigation for people who rely on alt text.
Optimize Your On-Site SEO
On-site SEO, or on-page SEO, refers to optimizing your website’s content and HTML code to rank higher in search engine results pages. On-site SEO helps search engine crawlers understand your website better and match it with the most relevant user searches.
The first thing you’ll want to optimize is your written content. Search engines love high-quality original content, so the more keyword-rich content you create—without any unnatural stuffing—the better your chances are of gaining a top search position.
If you want to boost your on-site SEO, conducting proper keyword research is key. By placing keywords in headings, including appropriate meta descriptions, and consistently publishing new blog posts or videos, you’ll be setting yourself up for future search engine success.
Likewise, adding internal links to your pages can bring more value to your readers and your website as a whole. You can also link to authoritative external sources that support your claims or provide additional information. These two subtle moves will help you build credibility among readers and search engines.
Some CMSs like Wix have an on-page SEO assistant to help optimize your website right from the dashboard. You can also use SEO plugins like Yoast on WordPress and Shopify, or you can just do the work manually like a true control freak or perfectionist.
Optimize Website Speed
In web design, there’s something called the 3-second rule: if someone who lands on your site has to wait longer than three seconds for it to load, they’re likely to leave before it finishes. Even search engines don’t like janky or slow-loading websites, so it’s vital to optimize your design to make them happy as well.
Website speed relies on several factors, including both the underlying technology behind your site and the on-page multimedia.
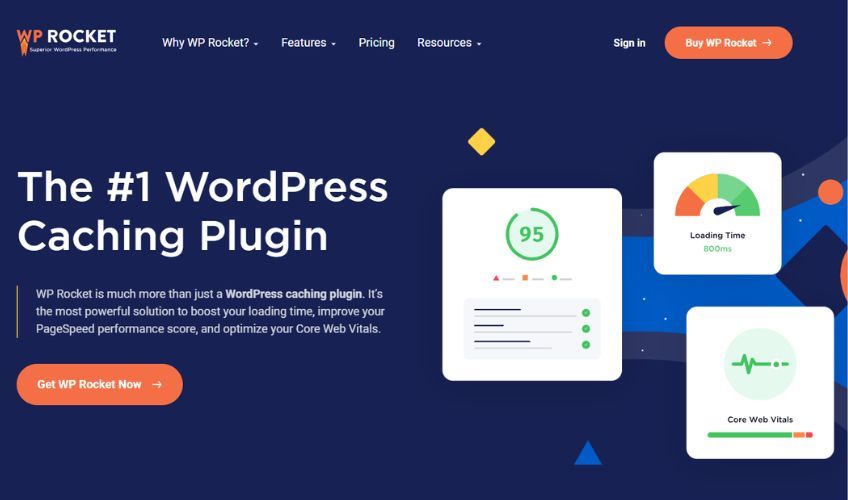
First, you should choose a CMS that supports the latest web technologies. This will help minimize scripts and leverage caching—though you can always use plugins like WP Rocket to optimize your site further if you’re on WordPress. Next, try using a theme that already includes most of the functionality you’ll need. Incorporating too many non-native apps and plugins can slow down your site.
Large images can also slow down your site, but you can avoid this by using an image compressor plugin that optimizes your photos site-wide. Alternatively, you can also use an online tool like TinyJPG to optimize individual images on your own.
To check your site speed and learn additional ways of optimizing your website, take advantage of tools such as Google PageSpeed Insights and Google Search Console.
Create a Coming Soon Page
Anticipatory pages that announce a website’s launch before it’s ready to go live can be very effective for building an early buzz. These are especially good for new product releases, and they often include countdown timers to encourage higher visitation numbers on the eventual day of publication. Many websites also provide email signup forms on these pages to build early contact lists.
Even if you have an old site, you can still use a “coming soon” page to keep it alive while you prepare your new domain. Telling visitors that your site is under construction is far better than leaving them at a dead end.
Set Up an SSL Certificate

After you set up your domain, you’ll also want to activate your SSL certificate. You can see when a site is SSL-protected by the lock icon in the URL bar of your browser.
SSL certificates encrypt the data passing between web servers and browsers, ensuring that sensitive information like login credentials, personal details, and payment data remains confidential. Many browsers prevent users from opening websites with a faulty security certificate, so you can lose out on a ton of traffic if you don’t get this right.
Your CMS will usually hook up your SSL automatically, but you may need to do it manually with your hosting provider. Some hosting services offer SSL for free or as part of premium plans, but if yours doesn’t, it’s a good idea to purchase an SSL add-on.
Tighten Up Your Backend Security
In addition to securing your website with an SSL, be sure you’re using a strong administrator password and check the access levels of any other users on your domain.
If you have a self-hosted WordPress website, consider adding a security plugin that protects your backend and routinely checks for security breaches. Other hosted solutions such as Wix and Shopify provide basic security measures, but you can enhance their protections with advanced apps.
For example, you might consider adding an app that disables right-clicking on certain images or a pop-up that asks for age verification. You can also find apps that block fraudulent IPs and/or restrict users in specific locations from accessing your website.
Set Up Google Analytics
Google Analytics is a treasure trove of useful data for optimizing your website. While most website owners can benefit from a broad overview of their audience’s behavior, those who are a bit more advanced with data can glean insights from their highest ranking pages and their most popular traffic sources.
To get started, visit the Google Analytics platform and sign in with your existing Google account or create a new one. After registration, create a “property” for your website and copy its unique tracking code. Next, follow the instructions to implement the tracking code into your website’s HTML. Your CMS may have a designated spot for this code, but you can also embed it into your website’s header section yourself.
Once your website receives traffic, try logging back into Google Analytics to see your site data. Some CMSs will even show basic analytics on your site’s dashboard, so keep an eye out for that as well.
Check Mobile Responsiveness
With mobile usage expanding its lead over desktop, it’s important to make sure your mobile experience is top-notch. In fact, you may even want to take a mobile-first development approach and treat your desktop version as second fiddle.
Most website builders can automatically adapt your desktop layout to a mobile one, and they’ll also let you tweak styles or hide specific elements on certain devices. That said, it’s important to check whether your menu and footer links work well on mobile and whether or not pop-ups and embedded apps get in the way of smooth scrolling. If you see anything that needs fixing, make changes that will be adaptable for all devices.
Check Cross-Browser Compatibility
Different browsers render web pages differently, meaning your website might look one way on Chrome and another way on Firefox. Cross-browser testing will help you check for errors that could prevent your website from loading correctly.
Certain tools such as LambdaTest can automate this process, helping you ensure that your website looks great on all screen sizes and popular web browsers.
Add a Favicon
A favicon is the little icon or logo you see in the tabs of your browser windows. This subtle but effective visual cue promotes brand recognition and helps people return to your site when they have multiple tabs open.
Since favicons are usually no bigger than 32×32 pixels in size, you should choose an icon or image that looks clear even when it’s tiny. Most brands use a modified version of their logo.
Your CMS may allow you to upload a favicon in formats like JPG, PNG, and even SVG in some cases, but if you need an old-school ICO file, you can use the free online favicon generator at Favicon.io. Afterwards, just upload the favicon to your website according to your CMS’s instructions.
Set Up Your 404 Page
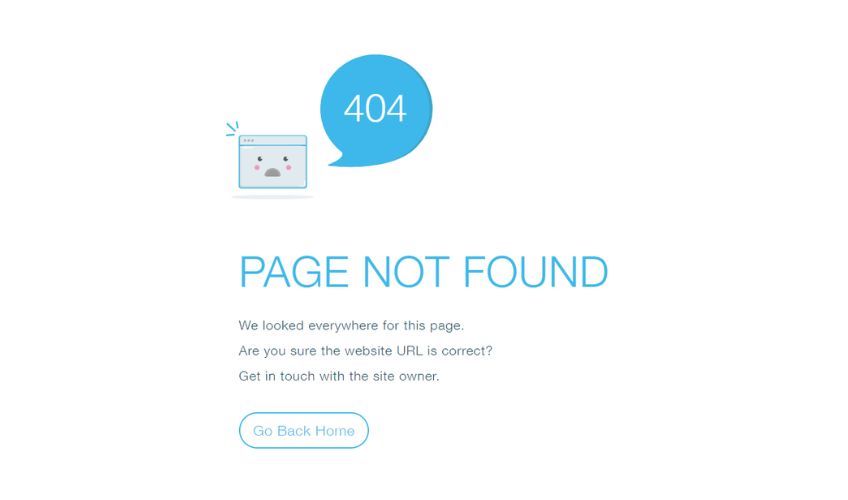
A 404 page is the error page that visitors see when they come across a broken or non-existent link. While most hosts provide default 404 pages, having a custom 404 page can offer users a unique message that encourages them to keep browsing on other pages of the site.
Start with a friendly and concise message telling visitors that the page they were looking for can’t be found. Many brands like to reassure them by keeping the tone of this page light or trying to say something witty.
Next, if you decide to include a search box, navigation links, or a contact method on your 404 page, then users will have a place to go whenever they get lost. In fact, you may want to include your header and footer links on there as well.
Once your site is live, you’ll want to monitor your analytics regularly to identify and trace any problems that lead to your 404 page in the first place.
Check Broken Links
One of the biggest culprits leading to 404s is broken links—which often appear in text-based links, navigation buttons, clickable images, and anchor links. These errors are usually caused when a website owner or admin publishes a bunch of design or content changes without looping back to make sure that all of the pages and links are still functional. Luckily, these problems are not hard to fix.
For WordPress users, plugins like Broken Link Checker can automatically detect and help fix broken links. You can also catch mistakes by manually checking your website if you’re using another platform.
Set Up Redirects
Redirects tell search engines that a page or website has moved. Just like the way you can instruct your post office to forward your mail to a new address, a redirect will tell search engines to send traffic to a new URL. Redirects also move SEO data from old URLs to new ones so you can maintain your search rankings.
You should set up redirects when you’re switching to a new domain, moving a single page, or when your URL structure changes. For example, you’d need to create a redirect if you change your blog’s URL structure from www.yoursite.com/blog/category/postname to www.yoursite.com/postname.
There are different ways to set up redirects, so you’ll need to check the instructions for your individual CMS. If you’re on WordPress, you can use a plugin that automates this process. Just be sure to preserve the URLs from your current site in a spreadsheet before making any changes so you can refer to the old URLs if needed.
Verify Website Backup
Sometimes websites go wonky, even with our best efforts. That’s why it’s a good idea to create a backup of your old website before you take it offline. It’s also a good idea to back up your new website at regular intervals just in case you can’t identify a recent change that caused problems on your site.
Generally, your backup method depends on your CMS. Most WordPress hosts offer automatic backups as part of their packages and deals. As long as that’s set up, you won’t even need to worry about doing your own backups.
Some site builders keep automatic backups on their servers for a certain period of time, but they don’t offer an easy way to back up your site on your own. If you can’t easily create a backup, you can still preserve your site’s URLs in a spreadsheet and keep copies of all the text and images you’ve used.
Connect Your Domain
Once you’re ready to make your website live, you’ll want to hook up your domain properly. Depending on your domain registrar and hosting provider, this process may vary slightly, but the general steps are the same.
First, log in to the site where you purchased your domain. Look for a section related to your domain settings or management, typically called Domain Management or My Domains, and then choose the domain for which you want to set up a connection.
Next, update the domain’s name servers in the DNS settings to point to those of your hosting provider. Your host will give you instructions on the specific name server information to use. Save your changes and verify if prompted.
Keep in mind that it can take Google up to 72 hours to make the domain changes. That means your website might appear offline during that time, and visitors might end up at an error screen.
Lastly, if your live site indicated that a new site was under construction and/or coming soon, this is probably the time to set your proper homepage URL. Just be sure to share your website after it’s gone live, not before.
Back Up DNS Records
DNS records are like the address books of the internet, as they map domain names to IP addresses. If these records are lost or corrupted, it can lead to website downtime, email disruptions, and other online service failures. Backing up DNS records safeguards against accidental changes, cyberattacks, or system failures—allowing you to restore services quickly.
To do this, log into your domain registrar or DNS hosting provider’s control panel. Navigate to the DNS settings or management section, often called DNS Management or DNS Records. Look for an option to export or back up your DNS records. This typically involves selecting the domains or records you want to back up and choosing the export option. Choose your desired backup format, such as a text file or CSV, and download that sucker.
DNS records can change for various reasons, so remember to update your backups periodically to reflect the current configuration.
Test Your URL
If you have multiple domains pointing to the same website—or if you’re redirecting traffic to your new site from an old one—you’ll want to ensure that your visitors will see the correct web address in their URL bar. The steps to do this vary by the service that you’re using. Check your website or hosting provider to see how to set the primary domain if you need to change it.
Create a Sitemap
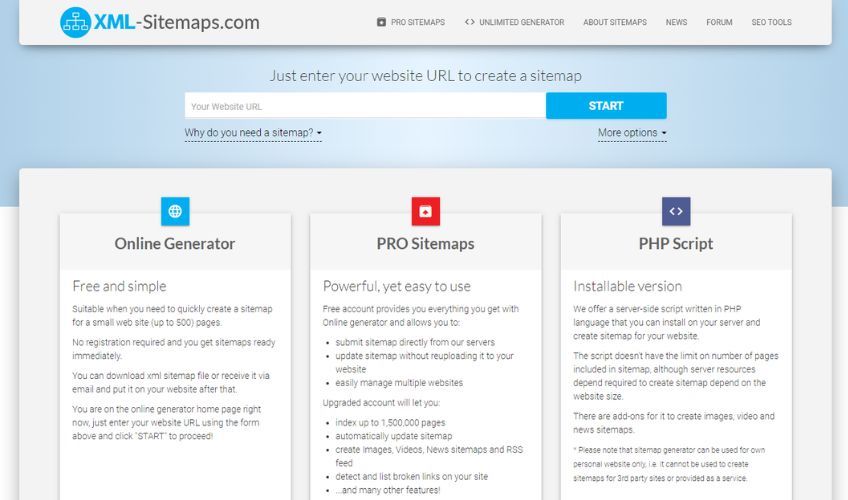
Once you have connected your domain and published your website, you’ll want to create a sitemap and submit it to search engines. Submitting a sitemap tells search engines that your website exists and that they should index its pages.
Most platforms automatically generate your sitemap as an .xml file for you, but you can also create one manually by referring to the instructions of your CMS—or by using a free XML sitemap generator. Once you’ve made the .xml file, log into Google Search Console and submit the sitemap.
Google can take up to 30 days to find a new site on its own, but it will index it within a few days after you’ve submitted your sitemap. In the future, you can resubmit your site each time you publish a new page or post to speed up indexing.
Install Performance Monitoring Software
Even though you’ve done your best to make a fantastic website, you’ll want to make ongoing improvements in the future. Performance monitoring software such as Hotjar and Microsoft Clarity can help you pinpoint which improvements to make.
These programs show you how users interact with your site through heatmaps, session recordings, and user surveys. By consistently monitoring your website’s performance, you can identify bottlenecks, improve user experience, and enhance conversion rates.
Hype Your Launch
Once you’ve nailed down all the essentials, you can build excitement for a successful launch. Some example marketing activities include running a series of social media posts, creating a countdown, or sending a preview of what’s coming to those on your email list. Your launch announcement can be as simple as a notification, but you can also create a discount or giveaway to promote sales from the start.
Final Check
Hopefully this checklist will guide you to a successful launch by helping you catch any errors before you go live with them. Not everything will be perfect on the day you publish your site, but following these steps will help it look good and perform as well as possible.
Lastly, remember that building a website and maintaining it go hand-in-hand, so you’re only just getting started. Keeping your website optimized and boosting your traffic will be important later on, but it’s the groundwork you do now that’ll set you up for future success.